


[ad_1]
When you have to sketch out and share concepts visually, nothing beats a digital whiteboard. These on-line apps replicate the collaborative dynamic of a bodily whiteboard in an workplace assembly room however accommodate a hybrid workforce — and every board you create stays accessible and could be added to over time.
Microsoft Whiteboard is the digital whiteboard app included with the corporate’s Microsoft 365 suite. You possibly can draw on and add shapes, textual content, and different parts to whiteboards you create within the app. For those who use Whiteboard by your self, it’s principally a easy drawing software. However when it’s used as a collaborative software, you and your co-workers can illustrate and map out concepts on a shared canvas.
You need to use Microsoft Whiteboard as an internet app by means of an online browser, as a desktop app for Home windows, or as a cell app for Android or iOS gadgets. For those who’re utilizing a Mac, a Linux PC, or a Chromebook, you need to use the net app by means of your most well-liked browser.
You can even combine Whiteboard into Microsoft Groups, and that’s the place it reaches its full potential. You possibly can create a Whiteboard tab in a Groups channel or chat that your group can use as a shared workspace for synchronous or asynchronous collaboration. Or you may share a whiteboard throughout a Groups assembly for real-time brainstorming, then proceed to work with the whiteboard later.
To make use of Microsoft Whiteboard, it’s essential to have a Microsoft 365 account (private, enterprise, or college) or a free Microsoft account. Whiteboard gives extra options below a paid Microsoft 365 account, most of that are useful for collaboration. Additionally word that some options can be found solely to customers below Microsoft 365 business plans.
On this information, we go over the fundamentals of utilizing Microsoft Whiteboard and supply a number of suggestions that will help you get essentially the most out of this whiteboard software.
Getting began
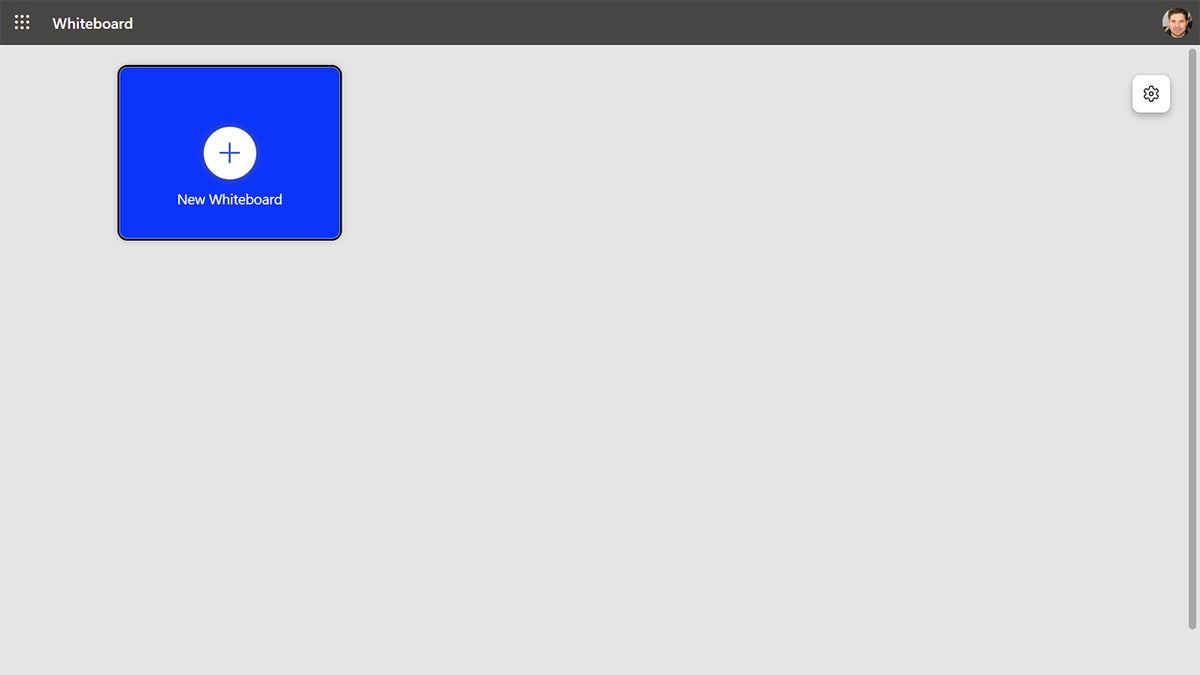
Launch the Home windows, Android, or iOS Whiteboard app or open the Whiteboard internet app in your browser. Finally this house display screen will present all of the whiteboards you’ve created and that your colleagues have shared with you. For those who and your group haven’t created any but, you’ll see a largely empty web page.
 IDG
IDGSimply click on the large New Whiteboard button to start out a brand new whiteboard. (Click on picture to enlarge it.)
Create a brand new whiteboard: Click on or faucet the New Whiteboard button.
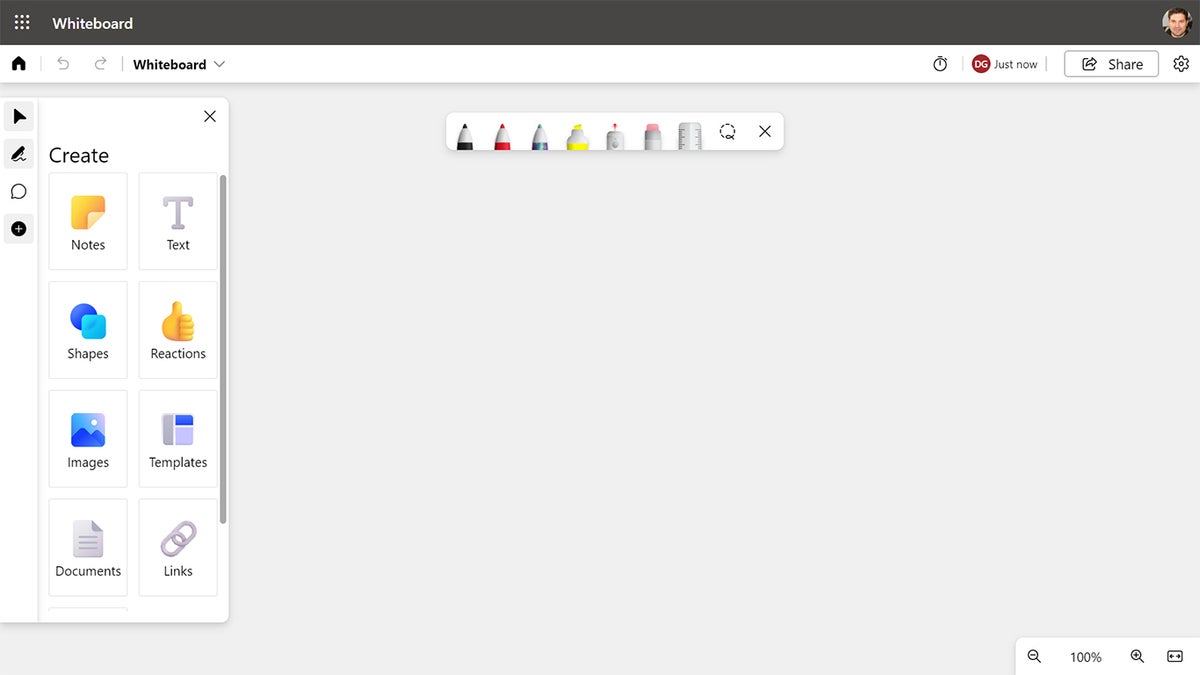
You’ll be taken to a clean whiteboard with a Create panel at left that you need to use so as to add varied parts to your whiteboard, resembling textual content, shapes, or sticky notes. An Inking toolbar close to the highest of the whiteboard enables you to choose from quite a lot of pens and different instruments for drawing.
 IDG
IDGA clean whiteboard. (Click on picture to enlarge it.)
Add textual content to the whiteboard: Click on the Textual content button on the Create panel, place your cursor on the whiteboard, and begin typing.
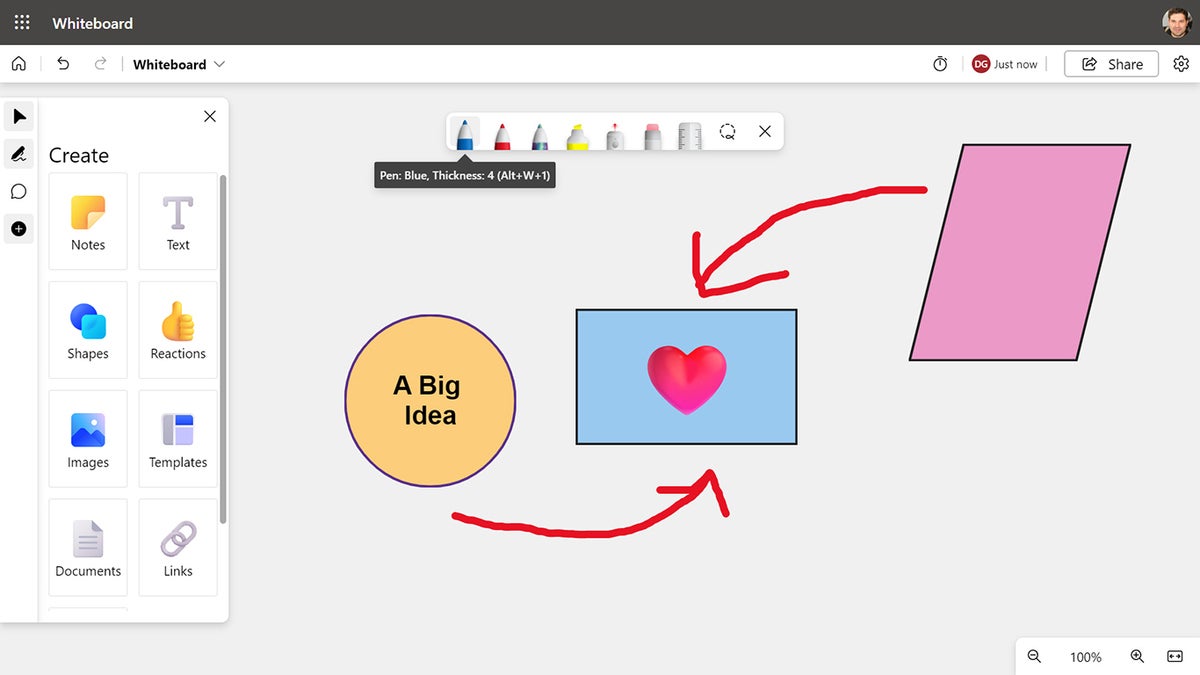
Add different parts: Click on the suitable button and make a choice. So as to add a form, as an illustration, click on Shapes and select from the form choices that seem. So as to add a picture, click on Photographs, select whether or not you need to add a picture saved in your gadget or search Bing Photographs, choose the picture you need, and click on Open or Insert.
Draw on the whiteboard: Select one of many pens from the toolbar on the high of the whiteboard and begin drawing along with your mouse, touchpad, or finger on a touch-enabled gadget.
 IDG
IDGYou possibly can add shapes or photographs to a whiteboard, or draw on it. (Click on picture to enlarge it.)
Transfer a component: Choose the merchandise you need to transfer, then drag-and-drop it wherever else in your whiteboard. For those who’re in inking (drawing) mode, you may have to first click on the Choose icon on the toolbar on the left (a cursor arrow) earlier than you’re capable of choose a component.
Resize a component: Choose the aspect, then drag one of many circles that seem at its 4 corners.
Delete a component: Choose the aspect, then click on the trash can icon that seems above it.
Return to the house display screen: Click on the house icon on the higher left.
You possibly can carry out most of those similar actions within the cell app. Click on the + icon on the backside of the display screen to see the Create panel.
That’s all you have to know to get began utilizing Whiteboard. In the remainder of the story, we’ll cowl methods to get essentially the most out of the app.
Placing collectively your whiteboard
Drawing on and including parts to a whiteboard is simple — really easy that whiteboards can shortly change into messy and arduous to observe. Listed here are some suggestions for designing a greater whiteboard.
1. Use sticky notes for textual content
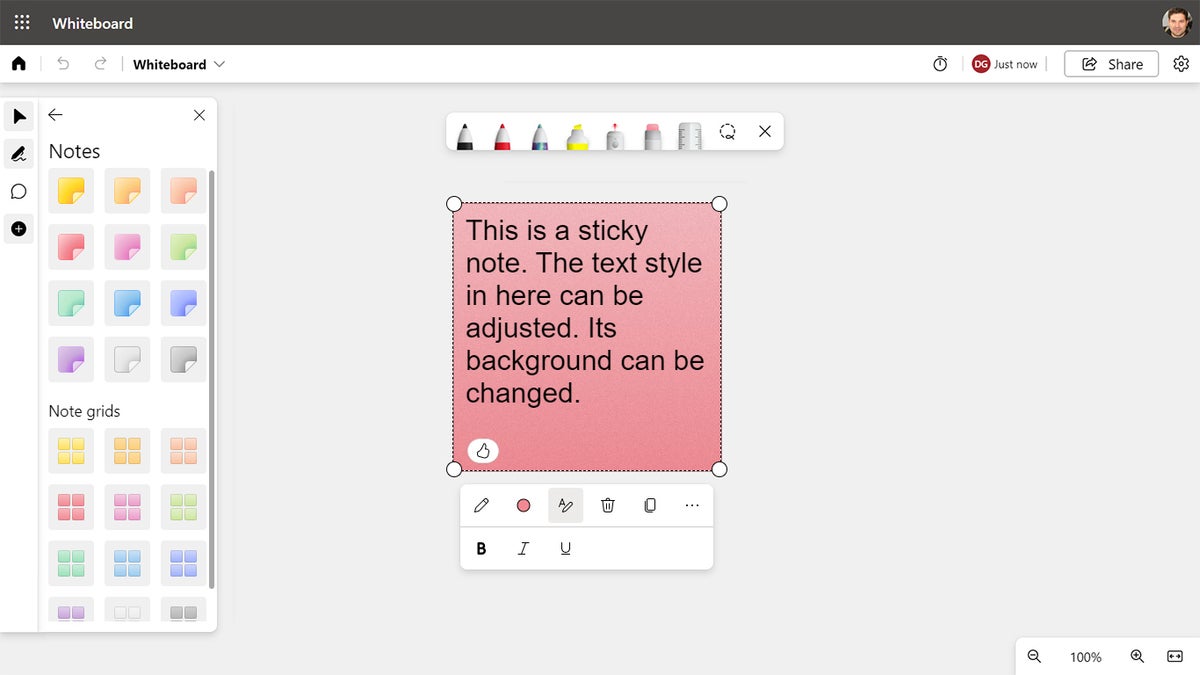
If you have to add a variety of textual content (for instance, detailed info to clarify a picture in your whiteboard), use sticky notes. On the Create toolbar, click on Notes, and on the pane that seems, select a shade from the choices within the “Notes” part.
A sticky word seems as a sq. card in your whiteboard; inside it, you may kind in textual content. You possibly can change the textual content model (daring, italic, underline) and the background shade of the word.
 IDG
IDGSticky notes are an effective way to incorporate and spotlight textual content in your whiteboard. (Click on picture to enlarge it.)
You possibly can transfer or resize a word similar to every other aspect on the whiteboard. The dimensions of the textual content contained in the word routinely will get greater or smaller as you resize the word.
In comparison with including textual content as a component instantly in your whiteboard, a sticky word is extra seen and extra versatile and makes it simpler to handle plenty of textual content. As a basic rule, including textual content as a component instantly on the whiteboard works finest while you want a headline or only a snippet of textual content to establish one thing very briefly.
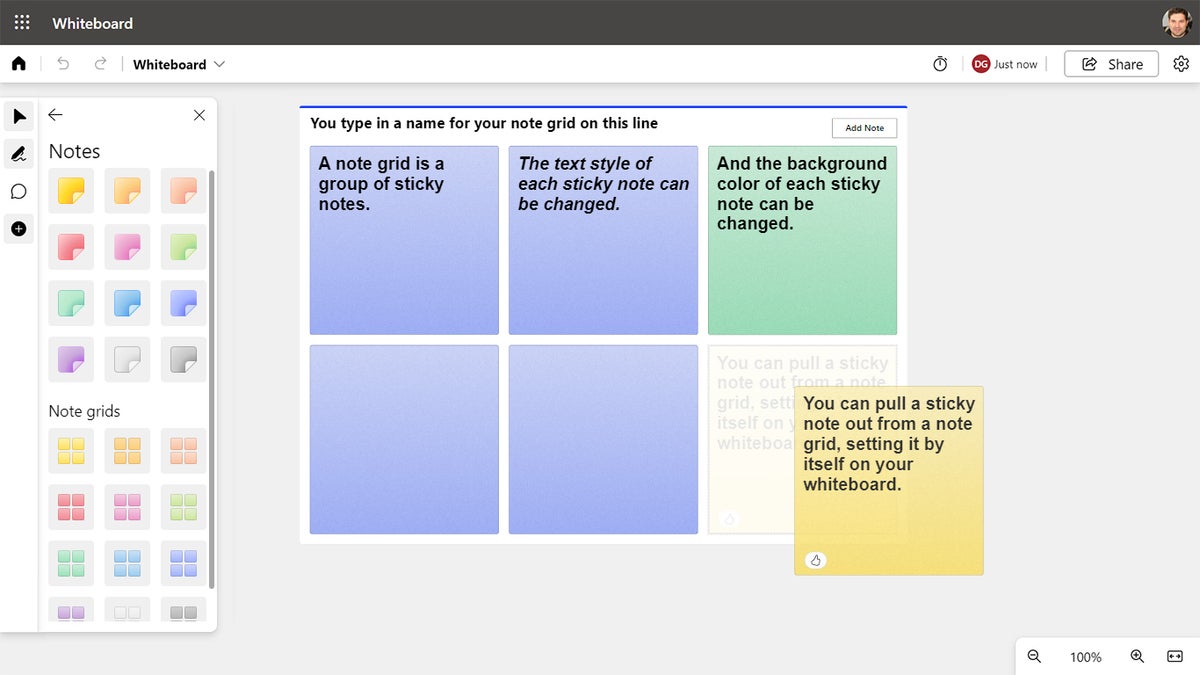
2. Use a word grid for much more textual content
When you have to add much more info to your whiteboard, use a word grid. This can be a group of sticky notes locked collectively in a grid structure. Every sticky word inside a word grid could be edited and manipulated like a daily sticky word, resembling formatting its textual content and altering its background shade.
 IDG
IDGNotice grids provide help to arrange massive quantities of textual content. (Click on picture to enlarge it.)
On the Create toolbar, click on Notes, and on the pane that seems, select a shade from the choices within the “Notice grids” part. (Within the cell app, click on the + icon on the decrease proper and click on Notice Grid on the Create panel.) Click on Add title on the higher left of the word grid, after which kind in a title for the word grid. So as to add one other sticky word to a word grid, click on Add Notice on the higher proper of the grid. An extra, clean word will seem contained in the word grid.
You possibly can transfer or resize a word grid similar to every other aspect in your whiteboard. As you resize a word grid, the sizes of all of the sticky notes inside it alter accordingly.
You possibly can pull any sticky word out from inside a word grid: Choose the word, then drag it out of the grid and onto one other space of the whiteboard. You can even do the reverse: Drag a sticky word over a word grid, and it will likely be added to the grid’s group of notes.
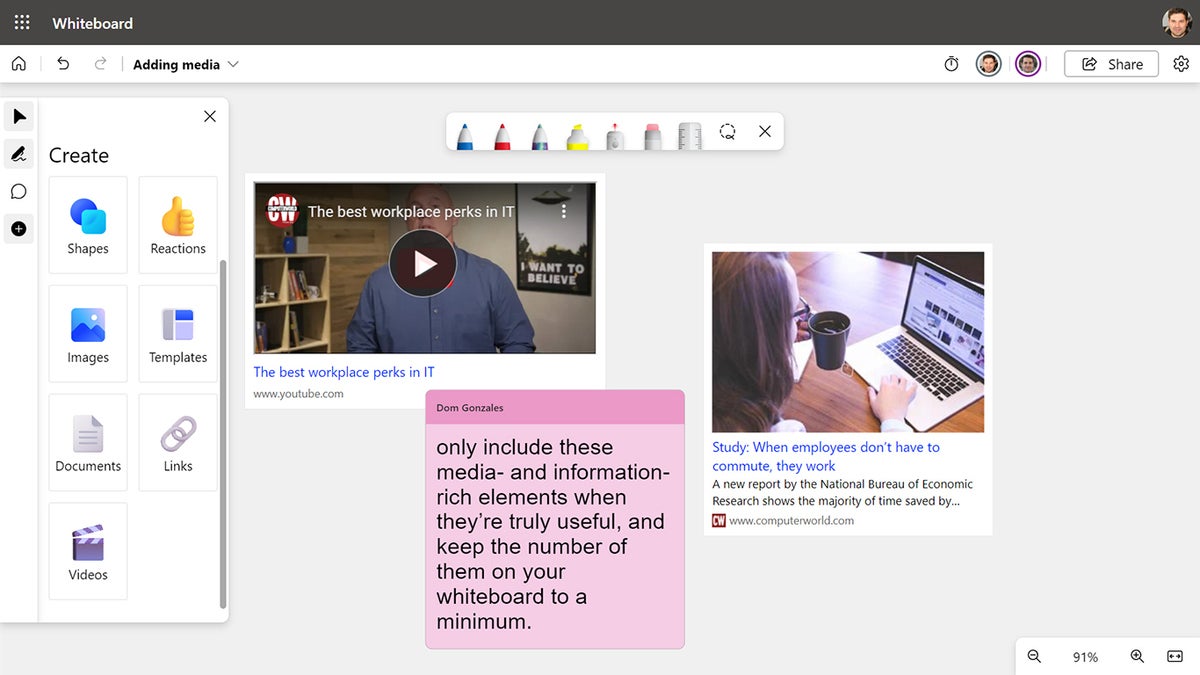
3. Add multimedia to your whiteboard — judiciously
Whiteboard enables you to add a number of multimedia and informational parts, together with photographs, pages from a PDF, slides from a PowerPoint presentation, hyperlinks to recordsdata or internet pages, and embedded movies from YouTube or different areas. You possibly can even embed Microsoft Loop parts created in Outlook and Groups chat.
It’s pretty apparent the best way to add photographs, hyperlinks, and movies — simply click on on these icons on the Create panel and observe the directions that seem. To embed a Loop part, copy it in Outlook or Groups, then right-click in your whiteboard the place you need to embed the Loop part and choose Paste. So as to add a web page from a PDF or PowerPoint file, choose Paperwork from the Create panel, navigate to the file you need, click on Choose, choose the web page(s) or slide(s) you need to add, and click on Insert.
Like different parts in your whiteboard, you may transfer and resize all these parts on it.
 IDG
IDGEmbedding multimedia parts on a whiteboard could be helpful, however don’t go overboard. (Click on picture to enlarge it.)
We advise exercising restraint, although — solely embody these media- and information-rich parts after they’re actually helpful, and hold the variety of them in your whiteboard to a minimal. A whiteboard ought to convey concepts in a easy means that’s straightforward to soak up shortly, primarily by means of primary drawings, shapes, and textual content. Take into account that your colleagues might view your whiteboard on the smaller screens of laptops, smartphones, or tablets.
4. Begin with a template
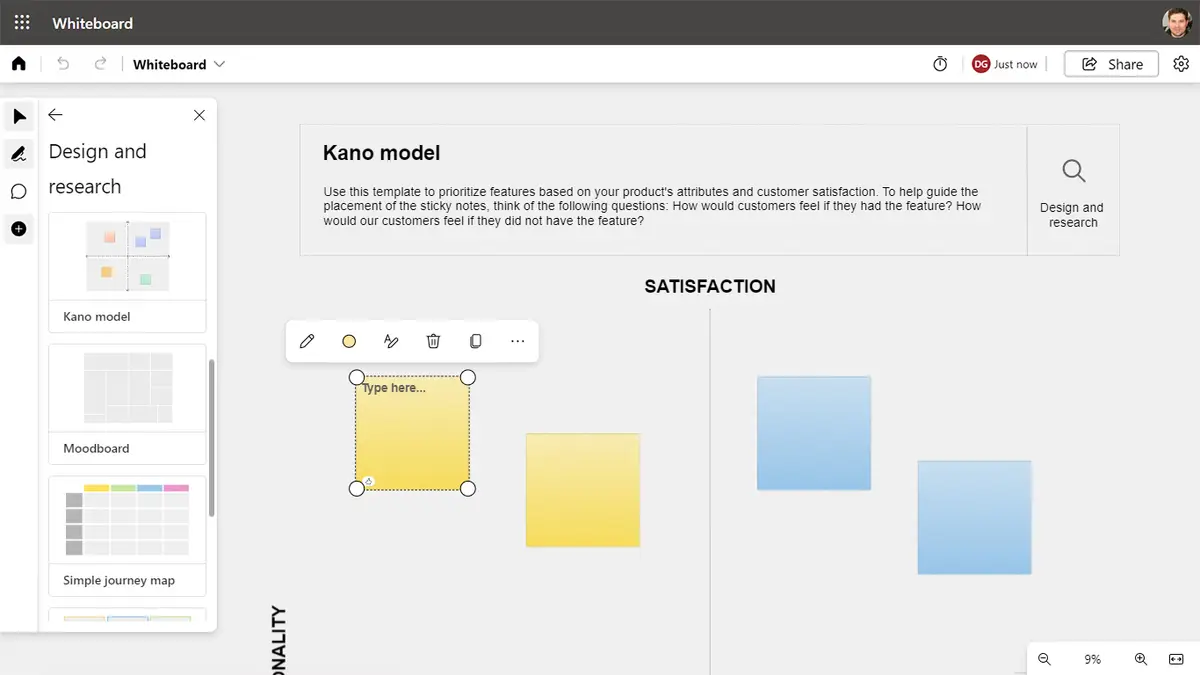
Observing a clean whiteboard could be daunting. What’s the very first thing you need to placed on it? That can assist you kickstart issues, Microsoft Whiteboard offers greater than 60 templates grouped into classes resembling “Brainstorming,” “Design and analysis,” and “Challenge planning.” To flick through the obtainable templates, click on Templates on the Create panel, then choose a class on the pane that seems.
Each template reveals a useful description of what it’s designed for while you hover over it. For instance, below “Design and analysis,” the templates “Affinity diagram,” “Kano mannequin,” and “Storyboarding” can be utilized to arrange information and concepts relating to buyer suggestions.
 IDG
IDGUtilizing a template could be the important thing to a well-organized whiteboard suited to a selected goal. (Click on picture to enlarge it.)
To make use of a template, choose it from the left pane and drag it onto your whiteboard. It’s added as a personalized word grid to your whiteboard. You’ll need to resize it a lot bigger. Inside this grid, there will probably be clean sticky notes and textual content bins that you just’ll fill in with your personal textual content.
Sharing your whiteboard
Like a bodily whiteboard in an workplace, digital whiteboards are meant for group collaboration. When you’ve arrange a whiteboard, you’ll need to share it along with your co-workers to allow them to contribute to it.
5. Share your whiteboard from the Whiteboard app
With the whiteboard open within the internet app or Home windows app, click on Share on the higher proper. Within the cell app, open the whiteboard, faucet the three-dot icon on the higher proper, and choose Share.
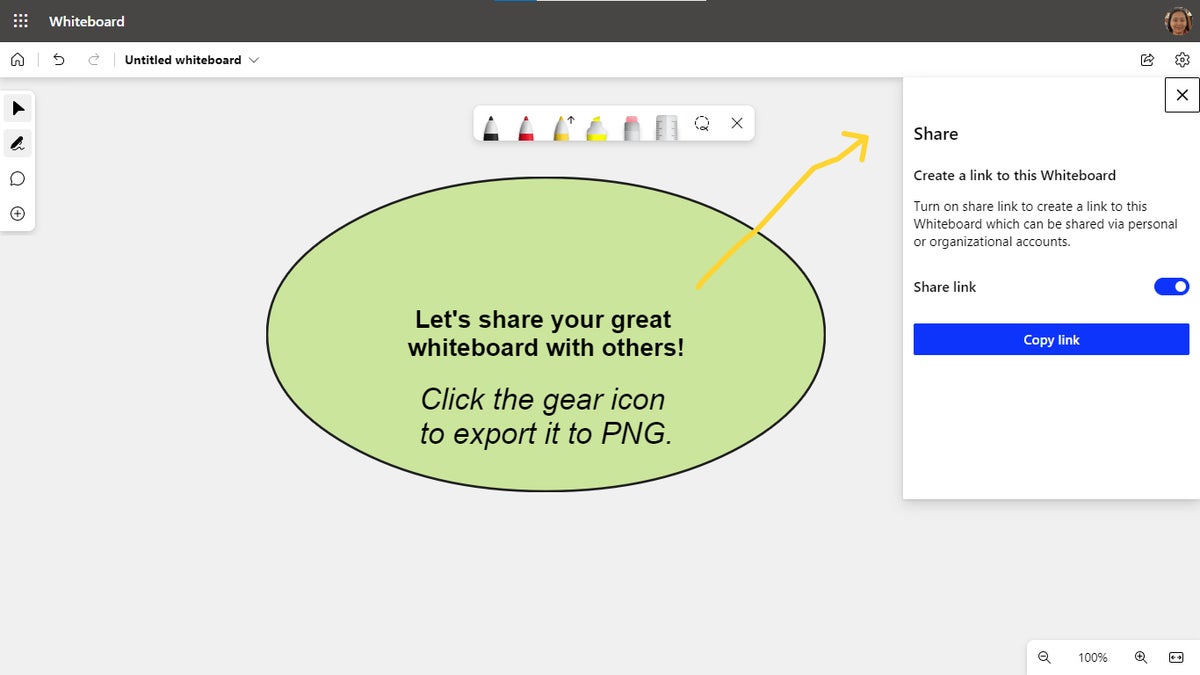
For those who’re utilizing Whiteboard from a private Microsoft account (whether or not free or below a private Microsoft 365 subscription): A panel opens on the precise. Click on the Share hyperlink swap after which Copy hyperlink. A hyperlink to your whiteboard will probably be copied to your PC’s clipboard. You possibly can paste this hyperlink inside an electronic mail or different message and ship it to others.
 IDG
IDGSharing a whiteboard from a private account. (Click on picture to enlarge it.)
So long as the individual clicking this hyperlink has a Microsoft account, they’ll view your whiteboard by means of an online browser or utilizing the Whiteboard Home windows app or cell app. And they may have the ability to edit it — so remember that no matter adjustments one other individual makes to your whiteboard, you’ll see them while you entry the whiteboard with your personal account. (If you wish to share your whiteboard however don’t need others to have the ability to alter it, see the directions under for exporting it as a picture.)
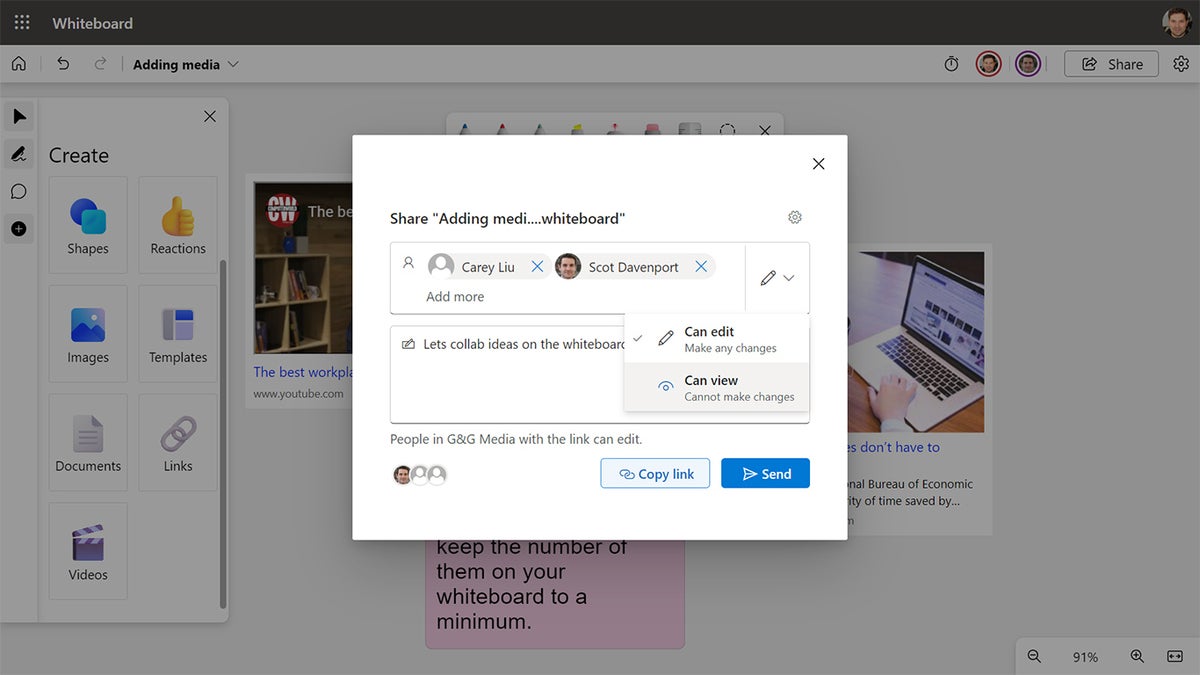
For those who’re utilizing Whiteboard from a piece or college Microsoft 365 account: If you click on Share, a “Share…” panel pops up over your whiteboard.
 IDG
IDGInviting co-workers to collaborate on a whiteboard. (Click on picture to enlarge it.)
Enter the names, group, or electronic mail addresses of people that you need to collaborate in your whiteboard. By default, solely individuals in your group will have the ability to entry your whiteboard, they usually’ll have the ability to make adjustments to it. To alter this, click on the pencil icon; from the small panel that opens, click on Can view — this lets individuals see however not make adjustments to the whiteboard (though this slightly defeats the collaborative goal of a whiteboard).
You possibly can optionally kind in a message for the hyperlink recipients. Then click on Ship. They may obtain an electronic mail with the hyperlink to your whiteboard.
Alternatively, you may click on Copy hyperlink. A hyperlink to your whiteboard will probably be copied to your PC’s clipboard. You possibly can paste the hyperlink inside an electronic mail or different message and ship it to others.
Along with sharing whiteboards from the Whiteboard app, you may share and collaborate on them in Groups channels, chats, conferences, and 1:1 calls. These strategies are lined under.
6. Export your whiteboard as a picture
If you wish to share your whiteboard exterior your group, you may export your complete whiteboard as a picture file. Those that view it won’t be able to edit it. That is additionally an excellent choice you probably have a private Microsoft account and need to share your whiteboard with out letting others make adjustments to it.
Along with your whiteboard open, click on the gear icon on the higher proper. On the menu that opens, click on Export picture. On the subsequent panel, choose Normal decision or Excessive decision, then click on Export. A screenshot of your complete whiteboard will probably be created in PNG format and saved to your PC or cell gadget.
Subsequent web page: Ideas for collaborating, utilizing Whiteboard in Groups, extra →
[ad_2]
Source link

